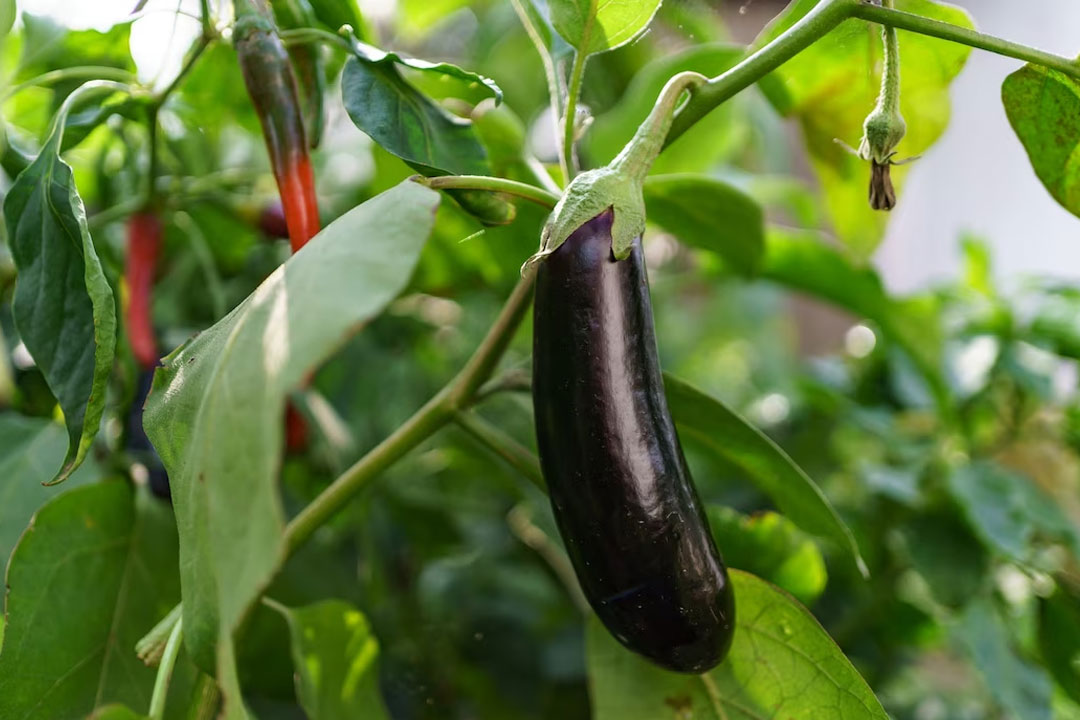
Chilli farming in Kenya has gained popularity in recent years, as the crop is in high demand both locally and internationally. It is a versatile crop that can be grown in a variety of soils and climatic conditions. In this step-by-step guide, we will explore how to farm chillies in Kenya.
Step 1: Choose the right chilli variety
The first step in chilli farming is to choose the right variety. The major chilli varieties grown in Kenya include Bird’s Eye chilli, African bird’s eye chilli, and Habanero chilli. It is essential to select a variety that is well-suited for the climatic conditions in your area.
Step 2: Prepare the land
Prepare the land for planting by clearing any weeds and debris. Chilli plants require well-drained soils with a pH range of 5.5 to 6.8. You can test your soil’s pH using a soil test kit and adjust it accordingly.
Step 3: Plant the chilli seeds
Chilli seeds are usually planted in seedbeds or nursery trays before being transplanted to the main field. Prepare the seedbed by mixing compost and manure with the topsoil. Sow the seeds at a depth of 1-2cm and cover them with a thin layer of soil. Keep the seedbed moist by watering it regularly.
Step 4: Transplanting
After four to six weeks, the chilli seedlings will be ready for transplanting. Transplant the seedlings to the main field, ensuring a spacing of 60cm between rows and 45cm between plants. Water the plants immediately after transplanting.
Step 5: Fertilization
Chilli plants require both organic and inorganic fertilizers to boost growth and yield. Apply organic fertilizers such as compost and manure before transplanting and during the growing season. Inorganic fertilizers such as NPK can also be applied in small doses to boost plant growth and yield.
Step 6: Pest and disease control
Chilli plants are susceptible to pests and diseases such as aphids, thrips, and bacterial wilt. To control pests, you can use natural insecticides such as neem oil or introduce biological control agents such as ladybugs. Fungal diseases such as powdery mildew can be controlled by applying fungicides.
Step 7: Harvesting
Chilli plants usually start producing fruits 60-80 days after transplanting. Harvest the chillies when they are fully mature, firm, and have attained their characteristic color. You can harvest the chillies manually or using a harvesting machine.
Step 8: Post-harvest handling
After harvesting, sort the chillies according to size and quality. Pack the chillies in well-ventilated containers and store them in a cool, dry place to prevent spoilage.
In conclusion, chilli farming in Kenya is a profitable venture for smallholder farmers. By following these simple steps, farmers can successfully grow and harvest chillies for both local and international markets.


