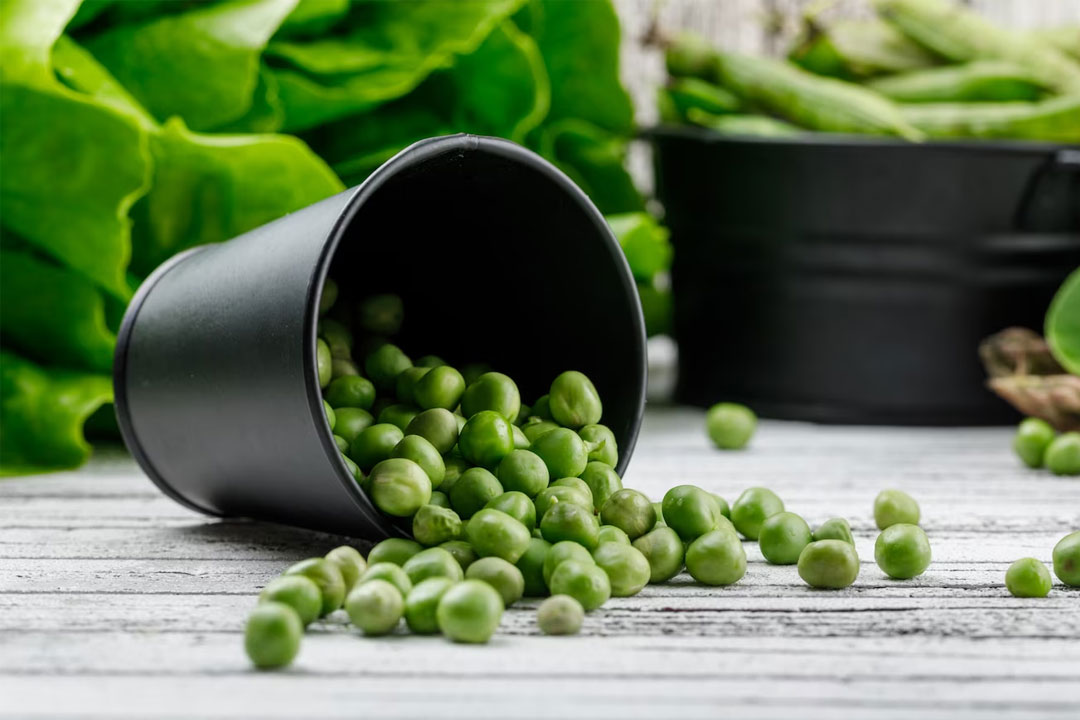
Peas, including mange tout and sugar snap peas, are cool weather legumes that thrive in temperatures ranging from 7 to 24 degrees Celsius. While it’s ideal to grow peas within this temperature range, irrigation can be used to extend the growing season in areas with slightly higher or lower temperatures. However, it’s important to avoid production during severe frost as it can lead to flower abortion and damage to young pods, resulting in reduced yield. This step-by-step guide will provide you with detailed instructions on successfully cultivating peas, covering aspects such as soil preparation, fertilization, variety selection, planting techniques, pest and disease control, and harvesting.
Step 1: Soil Preparation
- Peas can be grown on a variety of soils, but heavier clay soils tend to yield better results.
- Opt for well-aerated and well-drained sandy loams with a pH range of 5.5 to 6.0 (calcium chloride).
- If the soil’s pH is below 5.3, apply lime, preferably dolomitic lime, to raise the pH.
Step 2: Fertilization
- Analyze the soil before planting to identify any nutrient deficiencies and take corrective measures.
- Light sandy soils require more fertilizer than heavier soils.
- Apply 800-1000 kg/ha of compound A or B for sandy soils, and 400-500 kg/ha for heavy clay soils.
- In sandy soils with a history of zinc deficiencies, consider using compound Z to substitute half of compound B.
- Adjust the quantity and timing of ammonium nitrate (AN) top dressing based on soil type.
Step 3: Variety Selection
- The main commercial varieties of peas include Snow Wind, Snow Green, Sugar Lady, Cascadia, and Super Sugarsnap.
- Consider factors such as days to maturity, plant height, and resistance to diseases when selecting a variety.
Step 4: Seed
- All pea seeds should be treated with Apron Star Seed Dressing.
- Aim for a population of approximately 160,000 plants per hectare.
- The weight of seed sown per hectare varies by variety, typically ranging from 40 to 50 kg/ha.
- Plant two rows per bed, with 1.5 m center-to-center spacing. Use built-up beds for better soil aeration.
- In-row spacing should be 8 cm, and between-row spacing on beds should be 15-20 cm.
Step 5: Planting
- Sow seeds at a depth of 25 to 40 mm into pre-irrigated soil.
- Plant upwind when multiple plantings are in the same field to reduce pest and disease pressure.
- Monitor boron deficiency, indicated by a clear yellowish to light green rim on the leaves.
Step 6: Pest and Disease Control
- Follow your exporter’s Declared Pesticide List and read the label for instructions before using any chemicals.
- Control weeds with appropriate herbicides based on the weed type and soil conditions.
- Address pests such as cutworm, heliothis bollworm, and thrips using recommended insecticides.
- Implement preventive measures and use fungicides to control diseases like powdery mildew, downy mildew, and black spot.
Step 7: Harvesting
- Picking usually begins 8 to 12 weeks after planting, depending on the season.
- Harvest the crop daily, as peas become over-mature and unmarketable quickly.
- Ensure field heat is removed promptly after picking by transferring the peas to small bowls, then to crates kept in shade.
- Label and transport the crates to a cold store every two hours, maintaining a temperature of around 3 degrees Celsius.
Following these step-by-step instructions will help you successfully produce peas, from soil preparation to harvesting, ensuring a bountiful and high-quality yield.


Leave a Reply